Description
Pallet Rack Flue
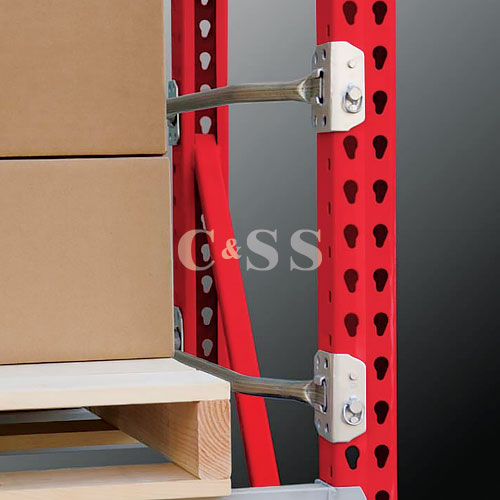
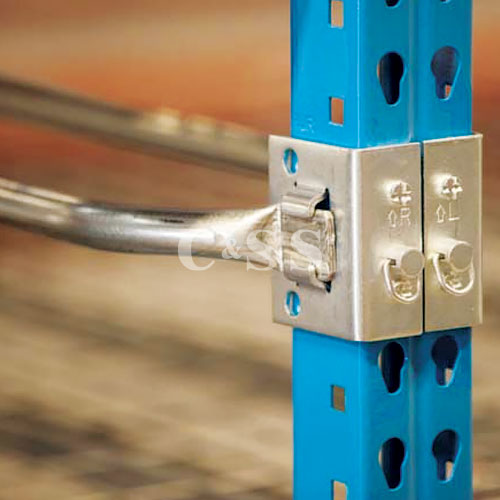
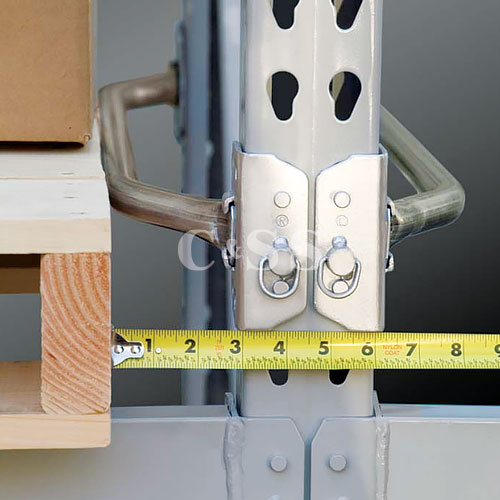
Pallet Rack Flue spaces are clear vertical lines of sight from the floor up to the ceiling within rack and pallet storage areas. The flue space allows the sprinkler system to operate as intended. Flue space is required by the local fire inspectors, so maintaining the flue space helps to satisfy building standards. Fluekeeper® HD provides space on each side of the rack post with 3″ transverse flue space (total 6″). It contains a Heavy duty tube member built for frames of up to 48″ and can support deeper by request. It possesses a boltless front and rear beam connections that make it easy to build without any special tools.
What is a Flue?
Two types of flue spaces are common in rack storage. The first type is the longitudinal flue space. For instance, the area between rows of rack. The second type is the transverse flue space. Here, it is the space to the left and the right of the product. In pallet storage, the transverse flue space is found on both sides of the pallet. However, the longitudinal flue space is behind the pallet. For records storage transverse flues, take a look at our standard-duty Fluekeeper page.
Are Pallet Rack Flues Required for Fire Code?
Three main items are looked at for flue space needs. First, the type of product commodity. Second, the storage arrangement. Third, the sprinkler system design. Together, these things will help define the type of flue space required for you. Fire department requirements are in the Fire code. Insurance companies may have different requirements altogether. C&SS is a design-build contractor specializing in innovative warehouse solutions, creating significant ROI and customer value. So contact one of our expert account managers for more information regarding your flue space.
Fluekeeper® HD Installation in Pallet Racks
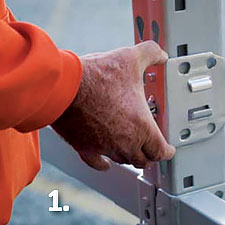
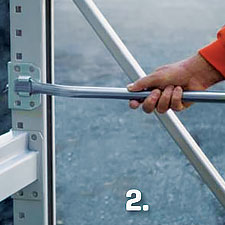
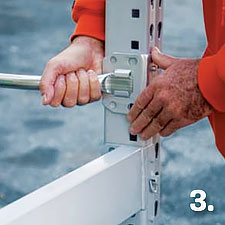
The spring-loaded product is installed on the rear connector into rear post, engaging safety lock. While installation is simple for maintenance personnel, its also requires no special tools or skills. Boltless front and back connections make it possible to install without removing any products. For installation, first install Rear Clip on Inner Tube. Then, the join the Front Clip on Outer Tube. Next, insert Inner Tube into Outer Tube and Rear Clip into post holes. After that, compress Outer Tube. Finally, insert Front Clip into post holes and release Assembly.
